
Restoration field guide
How to Prepare an Old Portrait for Restoration
Prepare a damaged family portrait with an untouched scan, useful references, and clear limits on facial changes. Learn when missing detail should stay uncertain.

By My Restored Photo editorial team
Published October 16, 2026 · Updated October 16, 2026 · 9 min read
On this page
- Separate visible evidence from missing information
- Check the physical portrait before capturing it
- Keep a capture that has not already been restored
- Gather reference photographs without treating them as answers
- Set the boundaries of the repair
- Define acceptance before viewing the result
- A practical next step
- Sources
Before restoring an old portrait, keep an untouched digital capture, collect any other photographs of the person, and write down which visible details must survive the edit. Decide in advance what you will do if an eye, mouth, or part of the face is unreadable. Leaving an uncertain area soft or damaged may be preferable to accepting a convincing replacement.
No preparation method can guarantee that AI will preserve a person's identity. The aim is to give the restoration a useful source and give yourself evidence for judging it.
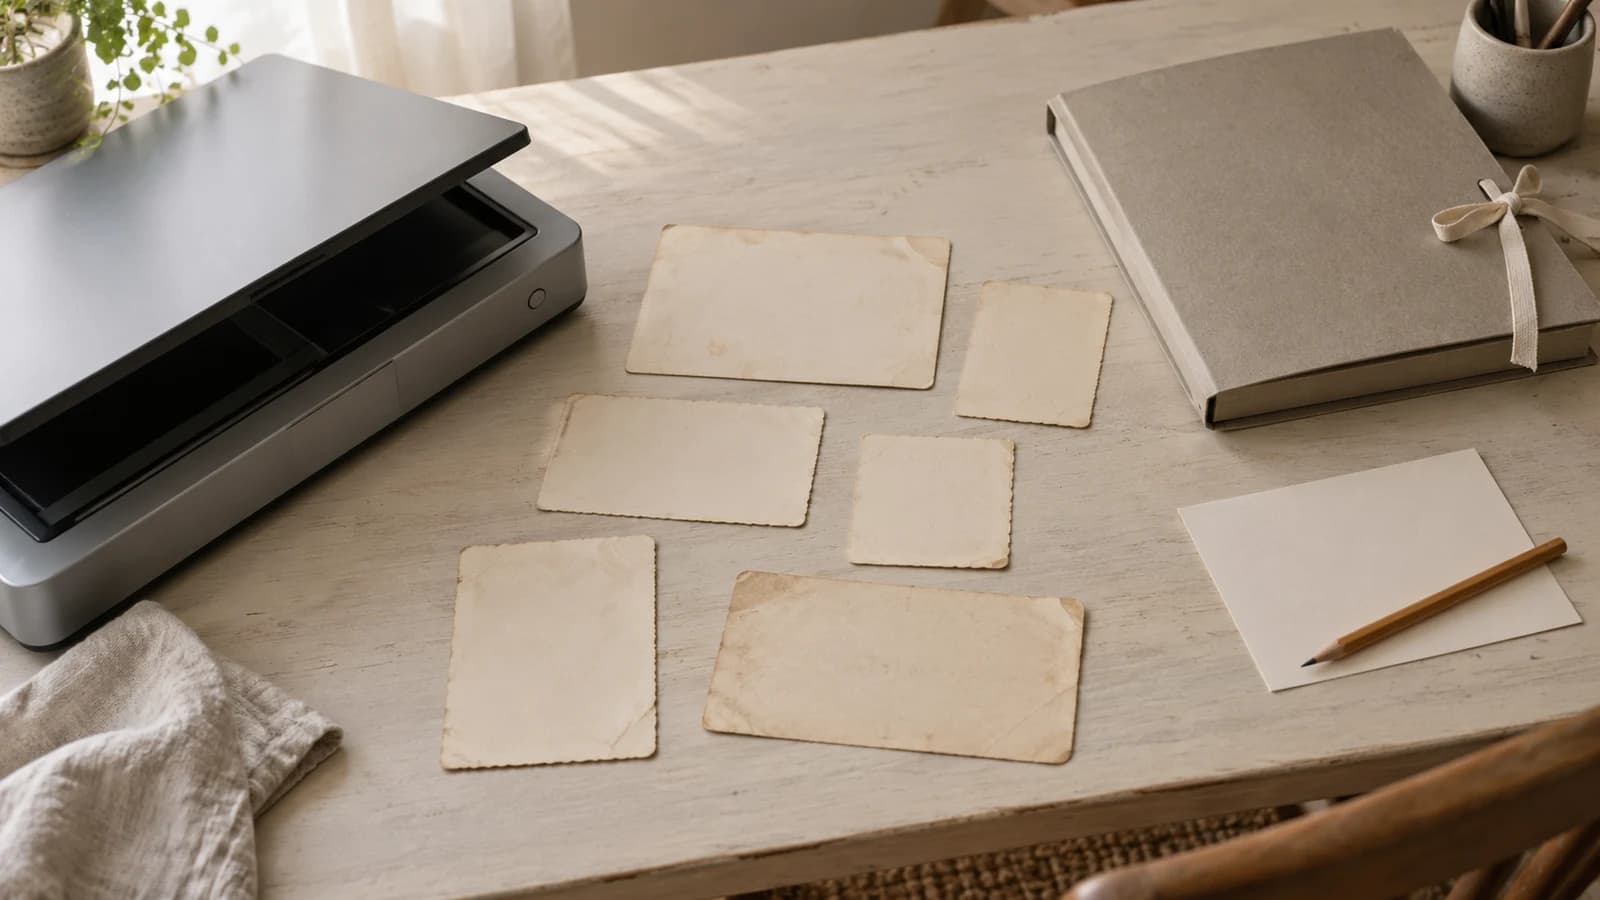
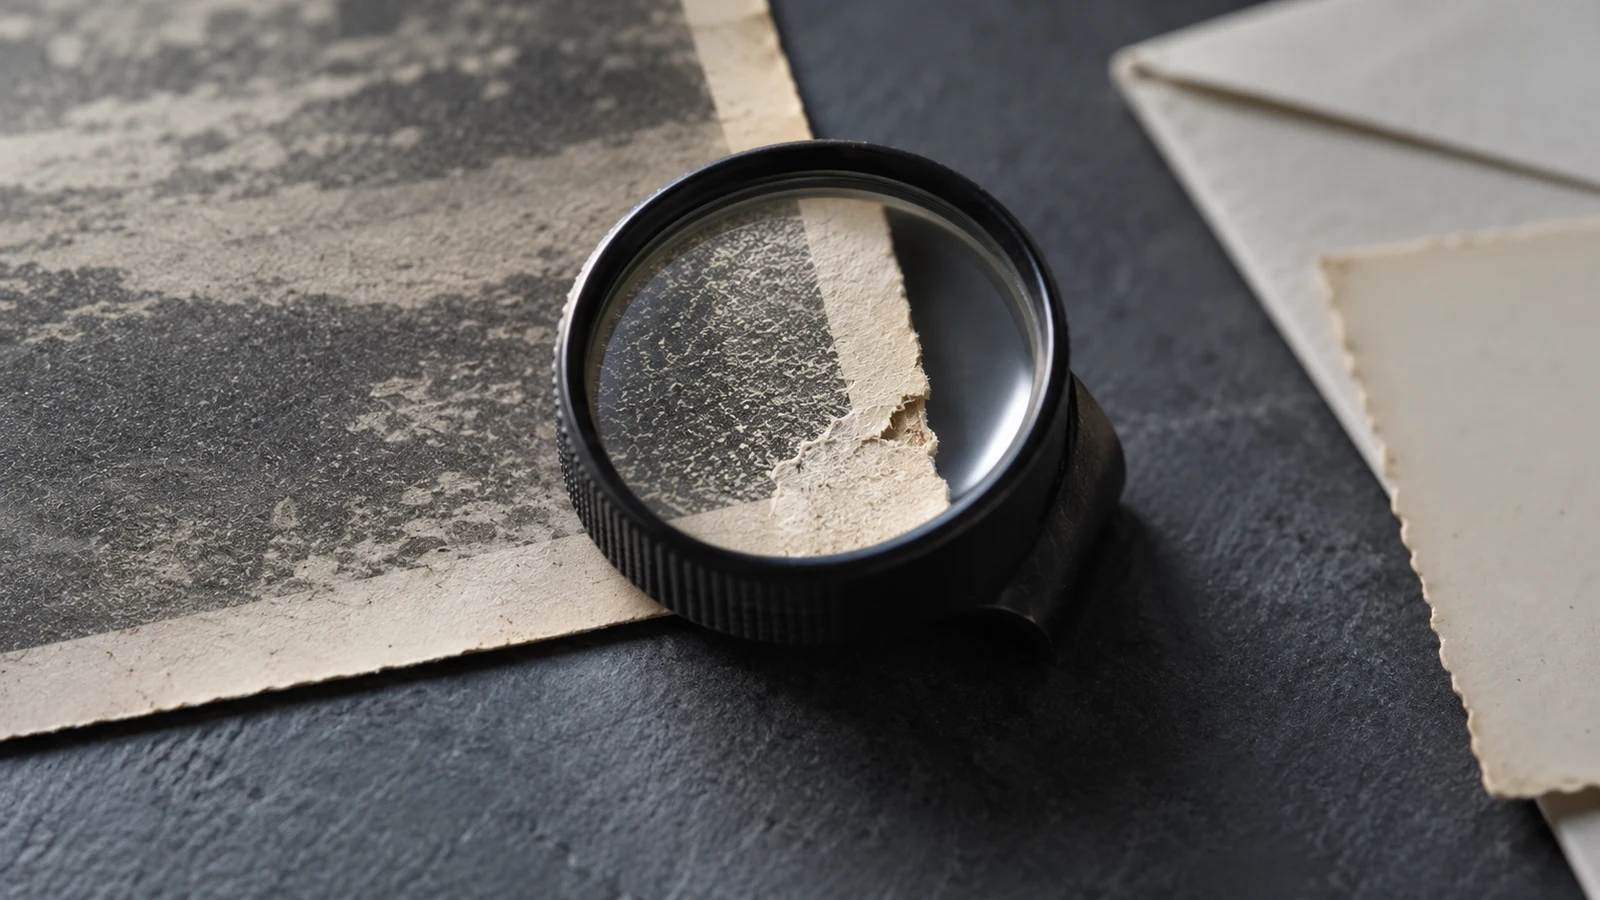
The cover and supporting image are original AI-generated fictional editorial scenes. They show preparation materials and paper texture, not customer photographs or demonstrated restoration results.
Separate visible evidence from missing information
A scratch beside a face and a tear through a face are different problems. Before you select a tool, inspect the unedited capture and describe what is actually present.
Make a short note with two parts:
- Visible details to protect. Record features you can point to in the photograph, such as the mouth's uneven smile, the shape of the glasses, or a hair part. Include a location so another person can find them.
- Details you cannot verify. Record where the source is blank, badly faded, or too blurred to interpret. Write "left eye unreadable" rather than guessing its shape.
These preparation notes are an editorial suggestion. They help distinguish a requested repair from a requested invention.
The CodeFormer research paper describes blind face restoration as an ambiguous problem and explicitly balances visual quality against fidelity. A smooth, detailed output therefore needs scrutiny; visual improvement alone does not establish historical accuracy. This is evidence about a research method, not a claim that My Restored Photo uses CodeFormer.
Our guide to what AI photo restoration can really recover explains that broader limitation. For a portrait, the practical consequence is to decide which uncertainties you are willing to leave unresolved before generating a result.
Check the physical portrait before capturing it
Digital preparation starts with the condition of the print. If it is stuck to another surface, cannot be opened without tearing, or has mold, seek conservation advice before attempting a capture. The US National Archives' guidance on repairing family photographs identifies these kinds of problems as reasons to contact a conservator. Wet materials need prompt attention.
If preparation requires physical repairs or adhesive removal, pause. The National Archives' family-archive guidance refers those treatments to a trained conservator, especially for heirlooms. Editing a digital copy does not stabilize the damaged print. Use our damaged-photo triage guide to decide whether handling should pause.
For a stable, flat print that can be scanned safely, capture the whole item without crushing it under the lid. The National Archives' digitizing guidance warns about originals that do not fit completely on the scanning surface. Keep the physical photograph after digitizing it.
Keep a capture that has not already been restored
Save the first useful capture separately before cropping, color correction, or repair. The Canadian Heritage Information Network's scanning guide separates the unedited preservation master from processed and derivative files. It also cautions against capture features that change the essence of the source, such as grain correction.
For a family portrait, use that distinction to keep two clearly named files: an untouched capture and a working copy. A filename ending in capture or working is a practical suggestion, not a required naming convention. Keep another copy of the capture somewhere you can retrieve it.
Review the capture before proceeding:
- Check that the whole portrait is present, including hair, ears, chin, and any surviving border.
- Look for glare or capture blur that prevents you from seeing details which are visible on the print.
- If capture introduced the problem and the original can be handled safely, improve the capture instead of asking restoration to guess through it.
- Keep any later crop as a separate file so you can return to the full view.
Use the scan-resolution guide for resolution decisions. There is no portrait-specific scan number that guarantees a faithful face, and enlarging the file is not evidence that it contains more original detail.
When the original is monochrome, a color capture can still record paper tone and discoloration. CHIN explains this use of RGB scanning for historic objects. Capturing the print's existing color is different from inferring the person's eye color or clothing color. Keep colorization as a separate decision.
Gather reference photographs without treating them as answers
Look for another copy of the same portrait first. As a practical comparison, it may show the exact expression or feature obscured in your damaged copy. Keep both files and note which one supplied any additional evidence.
If you only have different photographs of the person, choose ones you can identify confidently. Record the approximate date if known, and say when a date or identification is uncertain. Keep each reference as its own file rather than combining several faces into a single upload.
For a human retoucher, ask whether they accept references and how they will use them. For an automated tool, check whether reference images are actually supported. A reference you use for your own review is not automatically an input the tool can use.
Original research on guided face restoration uses a separate high-quality image of the same person and addresses differences in pose, lighting, and expression. That supports treating references carefully. It does not establish that a consumer service offers the same method, or that another photograph proves the missing expression in this portrait.
Our editorial recommendation is to use a different portrait to flag questionable changes, while keeping the damaged image as the source for its own pose and expression. A photograph taken decades later should not become a reason to change the age shown in the original. If family accounts disagree about a feature, record that disagreement rather than turning one memory into a certainty.
Set the boundaries of the repair
Before handing over the working copy, write a short note that separates damage from personal features. Avoid calling every dark spot a stain or every line a scratch when you cannot tell which it is.
For example, a fictional preparation note could read:
Priority: reduce the crease in the background. Preserve the visible smile, hairline, glasses, and age. The crease overlaps the cheek, where some detail is unclear. Leave that area uncertain if repair would require inventing a facial feature. Keep a version with the original monochrome appearance.
This is a communication example for your own records or a retoucher who accepts a brief. It is not a guaranteed prompt or a claim about which instructions a particular tool will obey.
Discuss any disputed mark before editing it. If the mark could be a mole, scar, or part of the original lighting, a useful instruction is "do not remove until confirmed." A relative's recollection can guide a conversation, but label it as recollection rather than evidence visible in the photograph.
If you hire a retoucher, ask them to obtain your approval before substantially reconstructing a missing facial area. You may prefer a repaired background with an imperfect face. Decide that preference now so the cleaner output does not make the decision for you later.
Define acceptance before viewing the result
Keep the capture and your notes available when you review a restoration. Use an image viewer to show the original and result with the face at a similar displayed size. Compare the specific features you wrote down rather than judging only the overall polish.
Use a simple decision record:
- Accept. The requested damage improves and the visible features you wanted to protect remain consistent with the source.
- Revise. A useful repair comes with a visible unwanted change, such as a different mouth shape. Identify the exact change when requesting a revision.
- Leave unresolved. The source cannot establish whether a generated detail is correct. Keep it labeled as reconstruction, or choose a version that leaves the uncertainty visible.
These are editorial review choices, not a biometric identity check. Recognizability to a relative is valuable feedback, but it cannot authenticate every generated detail. Review the full portrait as well as the face so an attractive close-up does not hide changes elsewhere.
Save the chosen edit alongside the capture, with a note about reconstructed areas. If you share it, say that it is a restored version. Keep the capture accessible to anyone using the image as a family-history source. The family-photo organization guide can help keep those files connected.
A practical next step
Once you have a safe capture and have set your limits, you can try a JPG or PNG working copy through the My Restored Photo homepage. Those formats are supported by the current upload flow. Keep your master and reference photographs separately for your own review.
Treat the first result as an edit to assess, not confirmation of what an unreadable face originally looked like. If the changes fail your acceptance criteria, return to the untouched capture and consider a retoucher who can discuss specific areas with you. The AI restoration, manual retouching, and conservation comparison explains which kind of help fits the problem.
Sources
- US National Archives: repairing existing damage to family papers and photographs, for condition problems that need a conservator.
- US National Archives: family archives, general guidance, for referring physical repairs and adhesive removal to a conservator.
- US National Archives: digitizing family papers and photographs, for careful capture and retaining originals.
- Canadian Heritage Information Network: scanning reflective objects, for unedited masters, derivatives, capture processing, and color capture of monochrome objects.
- Zhou and colleagues: CodeFormer, NeurIPS 2022, for ambiguity and the fidelity versus quality tradeoff in blind face restoration.
- Li and colleagues: learning warped guidance for blind face restoration, for reference-guided research and differences between source and reference portraits.