
Restoration field guide
What Resolution Should You Scan Old Photos At?
Choose between 300 and 600 PPI for old photo scans, with simple pixel calculations, practical settings, and honest restoration limits.

By My Restored Photo editorial team
Published July 20, 2026 · Updated September 6, 2026 · 9 min read
On this page
For most printed family photos, scan at 600 PPI if you plan to restore, crop, enlarge, or preserve the file. Choose 300 PPI when you mainly want to share the image on screen or make a print at roughly its original size.
Scanner software often labels this setting “DPI.” For a scan, the more precise term is PPI: pixels captured per inch of the physical print. You can still choose a 300 DPI or 600 DPI option in the scanner app; just remember that the setting controls pixel sampling, not the amount of real detail present in the photograph.
The quick decision
Choose 300 PPI when:
- the print is already fairly large and sharp;
- you need a convenient file for email, a digital album, or social sharing;
- you expect to print it at about the same physical size; or
- you are making a quick test scan before deciding which photos deserve more work.
Choose 600 PPI when:
- the original is a small snapshot;
- faces or other important details occupy only a small area;
- you expect to crop, enlarge, or restore the image;
- the print has fine cracks, scratches, fading, or paper texture you need to inspect; or
- you want one useful preservation master instead of rescanning later.
The Federal Agencies Digital Guidelines Initiative explains that an appropriate capture resolution depends on the source material's physical characteristics, size, and the level of detail that needs to be reproduced. That is more useful than treating one number as correct for every photograph.
What 300 and 600 PPI actually produce
The calculation is simple:
Pixel dimension = print dimension in inches × scanning PPI
For a 4 × 6 inch print:
- at 300 PPI, the scan is 1200 × 1800 pixels, or about 2.2 megapixels;
- at 600 PPI, it is 2400 × 3600 pixels, or about 8.6 megapixels.
For a 5 × 7 inch print:
- at 300 PPI, the scan is 1500 × 2100 pixels, or about 3.2 megapixels;
- at 600 PPI, it is 3000 × 4200 pixels, or about 12.6 megapixels.
For an 8 × 10 inch print:
- at 300 PPI, the scan is 2400 × 3000 pixels, or about 7.2 megapixels;
- at 600 PPI, it is 4800 × 6000 pixels, or about 28.8 megapixels.
Doubling PPI in both directions creates four times as many pixels. That gives restoration tools more samples to work with, but it also increases storage, upload time, and editing demands. The final file size varies with colour depth, file format, image complexity, and compression, so pixel dimensions are a more dependable planning measure than a promised number of megabytes.
The US National Archives gives a useful comparison: an 8 × 10 inch photograph captured at 300 PPI and a 4 × 5 inch photograph captured at 600 PPI both produce a 2400 × 3000 pixel image. In other words, the smaller original needs a higher sampling rate to reach the same pixel dimensions. See the Archives' digital photographic records guidance.
Why 600 PPI is a useful restoration default
A 600 PPI scan gives you room to crop without immediately leaving too few pixels for a face or other important feature. It can also represent smaller scratches, dust, print grain, and tonal changes more clearly than a 300 PPI scan of the same source.
That makes 600 PPI a practical starting point, not a guarantee of a better-looking result. A soft, out-of-focus original remains soft. A tiny face that contains no visible eye detail does not suddenly contain accurate eye detail because the scanner produced more pixels.
This distinction matters with AI restoration. Software can remove damage, reduce noise, and reconstruct missing-looking areas, but reconstructed detail may be plausible rather than historically accurate. Preserve the untouched scan, compare the restored result against it, and be especially cautious around faces, clothing, signs, jewellery, and other identity-bearing details.
If your scan is ready for careful restoration, you can upload one photo and review the result before processing a whole collection.
When 300 PPI is enough
Three hundred PPI is not a low-quality mistake. It is often an efficient, sensible choice for a clean 8 × 10 inch print, a same-size reprint, or an image that will mainly be viewed on phones and laptops. As the calculations above show, an 8 × 10 scan at 300 PPI already contains 7.2 million pixels.
It is also useful for triage. If you have several boxes of photographs, a first-pass 300 PPI workflow may help you catalogue and share them without creating an unnecessarily heavy archive. You can then rescan the small, damaged, or especially significant originals at 600 PPI.
The Library of Congress reformatting guidance notes that home scanners can be adequate for digitizing family collections for personal use and sharing. The right setting is therefore the one that preserves enough useful information for your intended outcome—not simply the largest number in the menu.
Can you scan at 1200 PPI or higher?
You can, but more is not automatically better for a paper print. Once the scan has captured the meaningful photographic and surface detail available from the source, a higher setting mostly creates more samples of the same information. Some scanners also advertise an interpolated resolution that is higher than their true optical resolution; interpolation estimates new pixels rather than measuring new source detail.
Very small originals, slides, and film negatives are different because each inch contains much more image information and will normally be enlarged for viewing. They often justify substantially higher capture settings and may need dedicated film equipment. Do not use advice for a 35 mm negative as if it were a rule for a 4 × 6 paper print.
For printed photographs, start with the scanner's true optical capability and inspect a representative 600 PPI scan at 100% magnification. If switching to a genuine 1200 PPI capture reveals useful source detail—not merely larger grain, dust, or softness—the higher setting may be worthwhile for that particular original.
Recommended scan settings beyond resolution
Resolution is only one part of a dependable scan. Use these settings as a calm starting point:
- Scan in colour, even for many black-and-white prints. Colour capture can preserve stains, fading, paper tone, and retouching information that may help later decisions.
- Turn off automatic sharpening and restoration for the master scan. Create a faithful capture first, then make changes on a copy.
- Use TIFF for a preservation or editing master when storage allows, or a high-quality JPEG for a smaller practical file. Avoid repeatedly saving an edited JPEG over itself.
- Save the untouched master separately. Give derivatives clear names so the original scan is never confused with an edited or AI-restored version.
- Check focus and clipping at 100%. Look at faces, shadow areas, pale highlights, edges, and fine damage before putting the original away.
The FADGI technical guidelines caution against artificial sharpening during capture when the goal is an accurate reproduction. A neutral master leaves you more freedom to change editing methods later without needing to rescan the physical photograph.
A safe scanning workflow
- Gently remove loose surface dust only if the print is stable. Do not experiment with liquids, solvents, tape, or household cleaners.
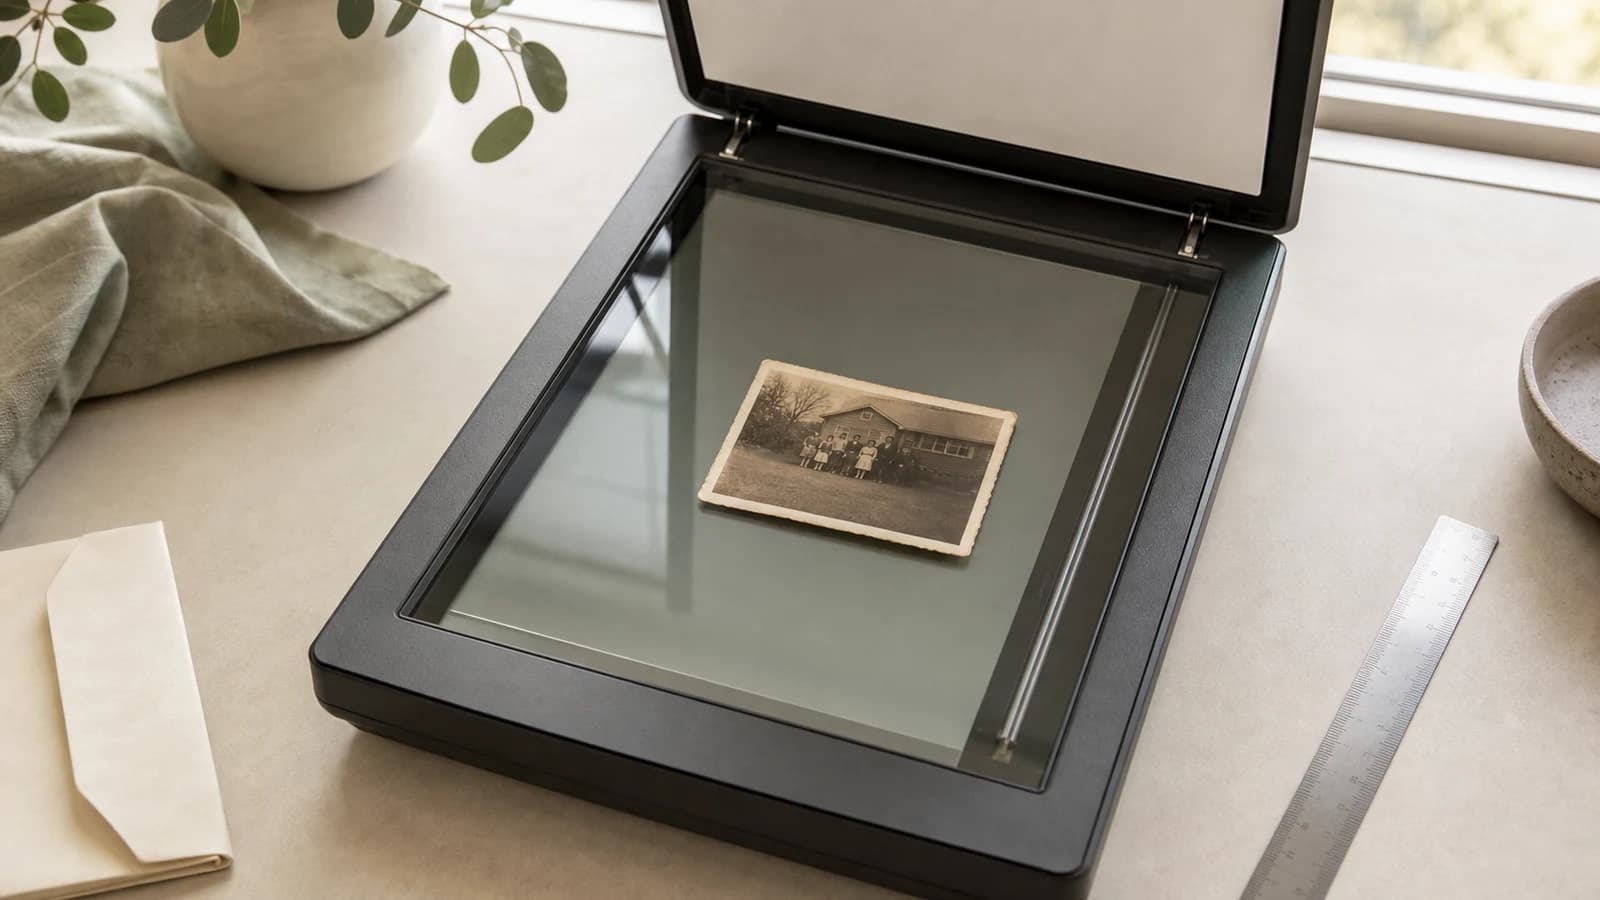
- Place one ordinary, flat print squarely on a clean flatbed scanner.
- Select 600 PPI, colour capture, and the scanner's true optical mode.
- Disable automatic enhancement for the master file.
- Preview the frame and leave a small border so no photograph edge is clipped.
- Scan, then inspect the result at 100% for focus, glare, clipped tones, dust, and unwanted cropping.
- Save the master and a separate working copy before editing or restoration.
- Record names, dates, places, and ownership information separately while family members can still identify them.
Do not force a curled, brittle, cracked, framed, or mounted photograph flat. The National Archives family digitization guidance advises against forcing items that do not fit and warns that automatic feed scanners can damage fragile or valuable material. Seek a qualified conservator or specialist when safe handling is uncertain.
If a flatbed scanner is not available, follow the guide to digitizing old photographs for a broader workflow, or learn how to photograph prints without glare when using a phone or camera.
Keep the original and back up the scan
A digital copy is not a reason to discard the physical photograph. File formats, drives, accounts, and services can fail or become obsolete, while the original may contain information a later scanning method can capture better.
The National Archives recommends keeping originals after digitization and following a 3-2-1 backup approach: three copies, on two kinds of media, with one copy stored elsewhere. Check those copies periodically rather than assuming an old drive still works.
For most family archives, a good plan is simple: capture important printed photos once at 600 PPI, preserve the neutral master and the physical original, create smaller copies for sharing, and treat any restored version as a clearly labelled derivative. That gives you useful detail without mistaking file size for historical truth.
Sources
- Federal Agencies Digital Guidelines Initiative: Technical Guidelines for Digitizing Cultural Heritage Materials
- US National Archives: Digitizing Family Papers and Photographs
- US National Archives: Digital Photographic Records guidance
- Library of Congress: Reformatting Frequently Asked Questions
- Smithsonian Institution Archives: Digitization standards and workflow