
Restoration field guide
What Can AI Photo Restoration Really Recover?
Learn which photo details AI can clarify, which repairs are inferred, and when a convincing restored face or texture is still only a plausible guess.

By My Restored Photo editorial team
Published July 24, 2026 · Updated September 6, 2026 · 8 min read
On this page
- Repair, enhancement, and reconstruction are different
- Why a believable result can still be guesswork
- What AI can often improve with lower uncertainty
- Where generated detail becomes high-risk
- A six-point test for any restored photo
- 1. Preserve the untouched master
- 2. Compare at the same scale
- 3. Check identity anchors first
- 4. Separate visibility from certainty
- 5. Generate alternatives when a region is ambiguous
- 6. Label the derivative
- How to ask for a more faithful restoration
- When AI is the wrong final step
- Sources
AI photo restoration can often make existing evidence easier to see and create convincing repairs where part of an image is damaged. It cannot reliably recover a detail that the photograph never recorded or that damage completely removed.
That distinction matters most around faces. A result may look sharper, more complete, and more photographic while still containing an eye shape, skin texture, hairstyle, or expression chosen by the model rather than documented by the source. The safest rule is simple: the less usable evidence in the original, the more you should treat the restored detail as an interpretation.
Repair, enhancement, and reconstruction are different
These are practical editorial categories rather than formal technical standards, but they make restoration results easier to judge:
| Type of change | What the software is doing | How to interpret the result |
|---|---|---|
| Enhancement | Adjusting tone, contrast, colour balance, noise, or apparent sharpness across information that is already visible | Often useful for seeing the source more clearly, but it can still suppress grain, edges, or subtle marks |
| Repair | Replacing a scratch, dust spot, crease, or small damaged area using nearby pixels and learned patterns | Usually more dependable when the missing area is small and its surroundings give strong clues |
| Reconstruction | Generating facial features, texture, objects, text, or scenery where the input is ambiguous or absent | A plausible proposal, not evidence of what was historically present |
One edit can contain all three. A tool might balance faded tones, fill a crease through a jacket, and generate new detail across a blurred face in a single pass. A polished finish does not tell you which pixels belong to which category.
Why a believable result can still be guesswork
Researchers describe blind face restoration as an ill-posed problem: many different high-quality faces could be compatible with the same small, blurred, or damaged input. The CodeFormer research paper explains that restoration systems use learned visual building blocks to reduce that ambiguity, and that there is a controllable trade-off between visual quality and fidelity to the input.
Other systems use a generative prior—patterns learned from many high-quality faces—to supply realistic facial detail. The GFP-GAN paper describes balancing “realness” and fidelity because a very poor input cannot provide accurate facial geometry on its own.
In plain language, the model has learned what faces, fabric, hair, walls, and skies commonly look like. It uses those patterns to produce a coherent image. That ability is why a restoration can look natural; it is also why natural-looking details can be invented.
What AI can often improve with lower uncertainty
No damage type is guaranteed, and every image needs inspection. In general, uncertainty is lower when the original still contains a strong visual signal and the change is limited:
- Faded tonal range: A model may separate shadows, midtones, and highlights that remain faintly present.
- A mild colour cast: Neutral-looking whites and more balanced channels can make surviving colour easier to read, although the exact original colour is not proved.
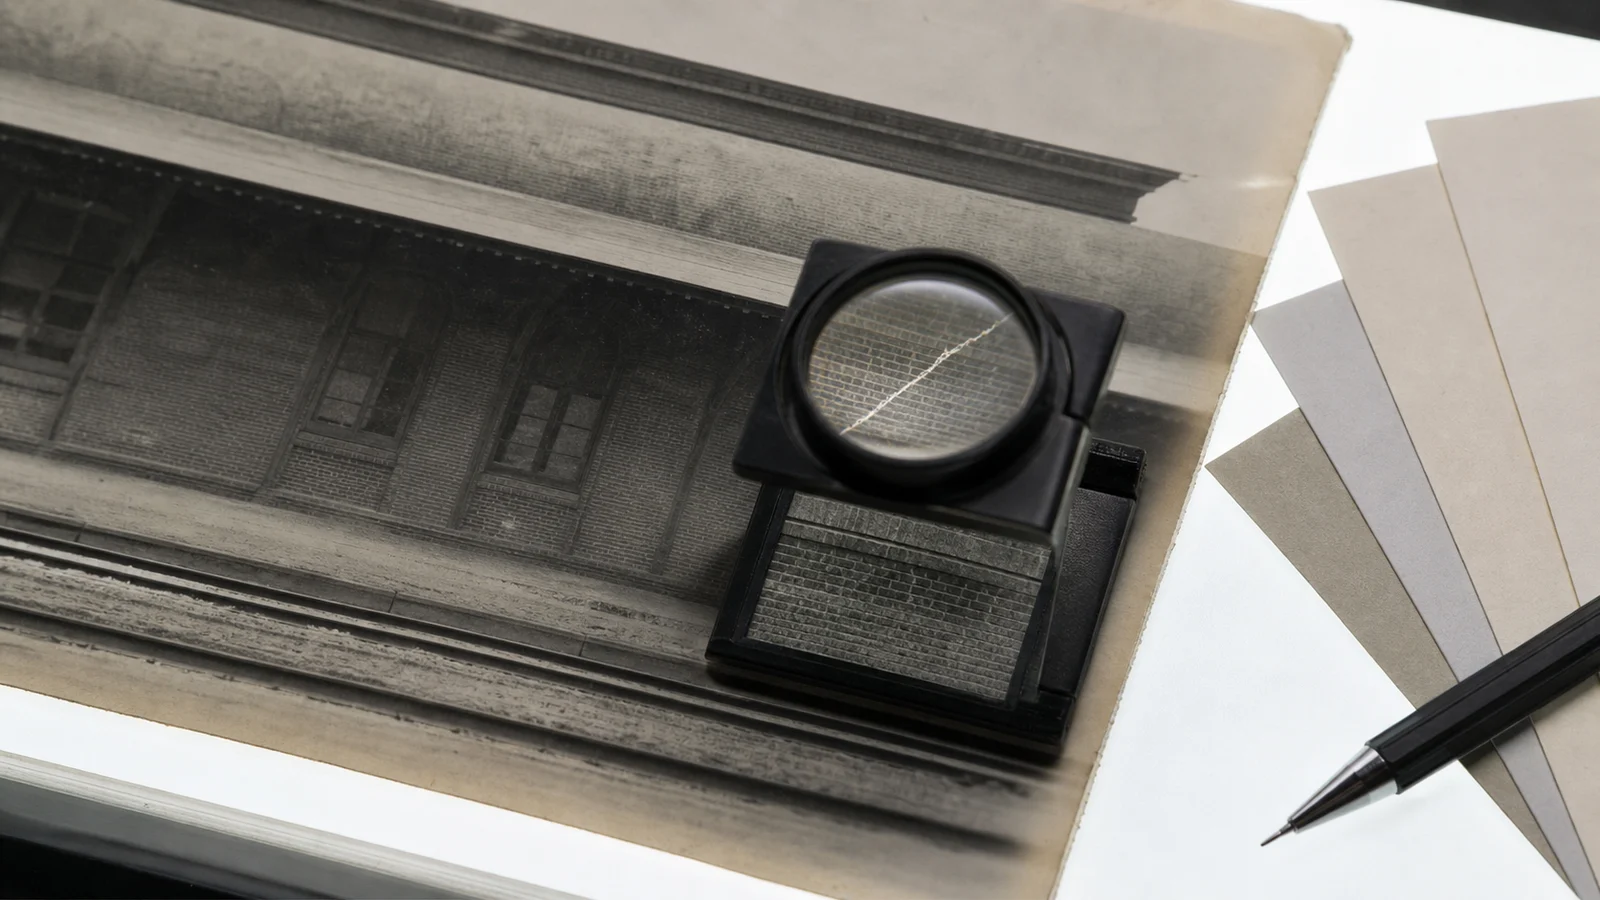
- Fine dust and isolated scratches: Small marks crossing a plain wall, sky, or area of consistent fabric give the model useful surrounding context.
- Moderate noise or scanning artefacts: Careful reduction can make shapes easier to inspect, but aggressive smoothing may erase real grain and fine edges.
- Small missing texture: A short scratch through a repetitive background is less ambiguous than a missing eye, badge, signature, or patterned garment.
Even here, “improve” is a better word than “recover.” The output may be a helpful visual interpretation without recreating the exact dyes, paper response, film grain, or retoucher marks present when the photograph was made.
Where generated detail becomes high-risk
Treat these areas as uncertain unless another trustworthy source confirms them:
- Tiny or severely blurred faces. More output pixels do not mean more authentic eye, mouth, or skin detail.
- Features hidden by a tear, glare, or stain. A complete generated face may be internally consistent but different from the person.
- Large missing regions. The model has fewer boundaries and neighbouring textures to constrain what it creates.
- Text, dates, signs, medals, insignia, jewellery, and patterned clothing. Small changes can alter names, affiliations, ranks, relationships, or period clues.
- Hairlines, teeth, hands, and facial expressions. These visually sensitive details can change a person's apparent age, mood, or identity.
- Colourization. The software may produce historically plausible colours, but a monochrome photograph usually does not contain enough information to prove the original colour of a dress, car, wall, or uniform.
If historical accuracy matters, use family testimony, labelled duplicates, adjacent frames from the same film roll, studio records, uniforms in museum collections, or other dated photographs as separate evidence. Do not let the restored image become the source that “confirms” its own generated details.
A six-point test for any restored photo
1. Preserve the untouched master
Keep the original scan or camera capture separate from every edited version. The Library of Congress recommends retaining a master file and doing modification work on a copy in its personal scanning guidance. Its digitized Bain Collection similarly separates unenhanced archival masters from sharpened, compressed service images in the collection's technical documentation.
Use filenames that make the relationship obvious, such as:
1948-reunion-master.tif1948-reunion-restored-v1.jpg1948-reunion-restored-v2-colourized.jpg
2. Compare at the same scale
Compare the original and restoration at the same displayed size, or align them in a split view so the same feature occupies the same space on screen. Switching rapidly between them makes changed face shape, jewellery, text, and background objects easier to spot than looking at the attractive result alone. You can then inspect each file at 100% separately for processing artefacts; when an output has been enlarged, 100% is not the same scene scale in both files.
3. Check identity anchors first
Inspect the spacing and shape of the eyes, eyebrows, nose, mouth, jaw, ears, hairline, and any distinctive marks. Then check hands, clothing details, and objects connected to the person. A globally sharper image can distract from a locally changed identity.
4. Separate visibility from certainty
Ask two questions:
- Is this detail easier to see?
- Is there enough evidence in the original to know the new detail is correct?
The answer can be “yes” to the first and “no” to the second. That is a useful restoration with an important caveat, not necessarily a failed one.
5. Generate alternatives when a region is ambiguous
If repeated attempts produce different eyes, teeth, fabric, or background objects, that variation is evidence of uncertainty. Choose a restrained result, mask the area from further editing if the tool allows it, or leave the damage visible rather than selecting the most dramatic version.
6. Label the derivative
Record the tool, date, main adjustments, and uncertain regions in the filename, caption, or family catalogue. If you share a colourized or heavily reconstructed image, say so. Future relatives should be able to distinguish the historical source from a modern interpretation.
How to ask for a more faithful restoration
A precise instruction cannot create missing evidence, but it can set a conservative goal. Ask the tool to:
- repair only specified damage;
- preserve face shape, expression, hairstyle, clothing, jewellery, text, and background layout;
- avoid adding people or objects;
- keep colour and contrast restrained; and
- leave an uncertain region unchanged rather than inventing a confident replacement.
Then review the output as evidence, not just aesthetics. Models can ignore or imperfectly follow instructions, especially when damage is severe. A prompt that says “preserve identity” is a request, not an authenticity guarantee.
When AI is the wrong final step
Automated restoration is useful for exploration, family sharing, and preparing a visually improved derivative. Consider a skilled human retoucher when you need controlled decisions across a valuable image. When the physical object itself is fragile, stuck, mould-affected, flaking, or otherwise at risk, consult a qualified photograph conservator: the Library of Congress notes that condition problems not resolved by safer housing may require conservation treatment by a photograph conservator. Digital reconstruction does not stabilize a damaged print.
For an irreplaceable portrait, make a strong neutral scan first, preserve it, and test restoration on a copy. The guide on choosing a scan resolution explains how capture quality and true source detail differ.
If you want to assess one ordinary digital copy, you can try a restoration with My Restored Photo and use the original/restored comparison before deciding whether the result is faithful enough to keep. The service asks its image model to preserve the original people and setting, but the same limitation still applies: generated detail may be plausible rather than historically correct.
Sources
- NeurIPS: Towards Robust Blind Face Restoration with Codebook Lookup Transformer
- IEEE/CVF: Towards Real-World Blind Face Restoration With Generative Facial Prior
- Library of Congress: Personal Digital Archiving—The Basics of Scanning
- Library of Congress: Bain Collection Technical Information
- Library of Congress: Care, Handling and Storage of Photographs