
Restoration field guide
How to Organize Scanned Family Photos: Names, Folders, and Backups
Build a simple system for scanned family photos: keep untouched files, name each image, record uncertain details, and check your backups.

By My Restored Photo editorial team
Published September 25, 2026 · Updated September 25, 2026 · 6 min read
On this page
Start with the box or album, not a guessed date. Give each scan a stable ID that points back to its physical source. Keep the best untouched scan in a masters folder, put restorations and sharing copies in edits, and record what you actually know in a small inventory. Then make separate backup copies and check that you can open them.
This is a practical family workflow, not a formal archival standard. The US National Archives recommends clear file names, basic who/what/where/when metadata, and a 3-2-1 backup arrangement. The Library of Congress photo-archiving checklist also calls for descriptive names, a folder structure, a short explanation of that structure, copies in different places, and periodic checks.
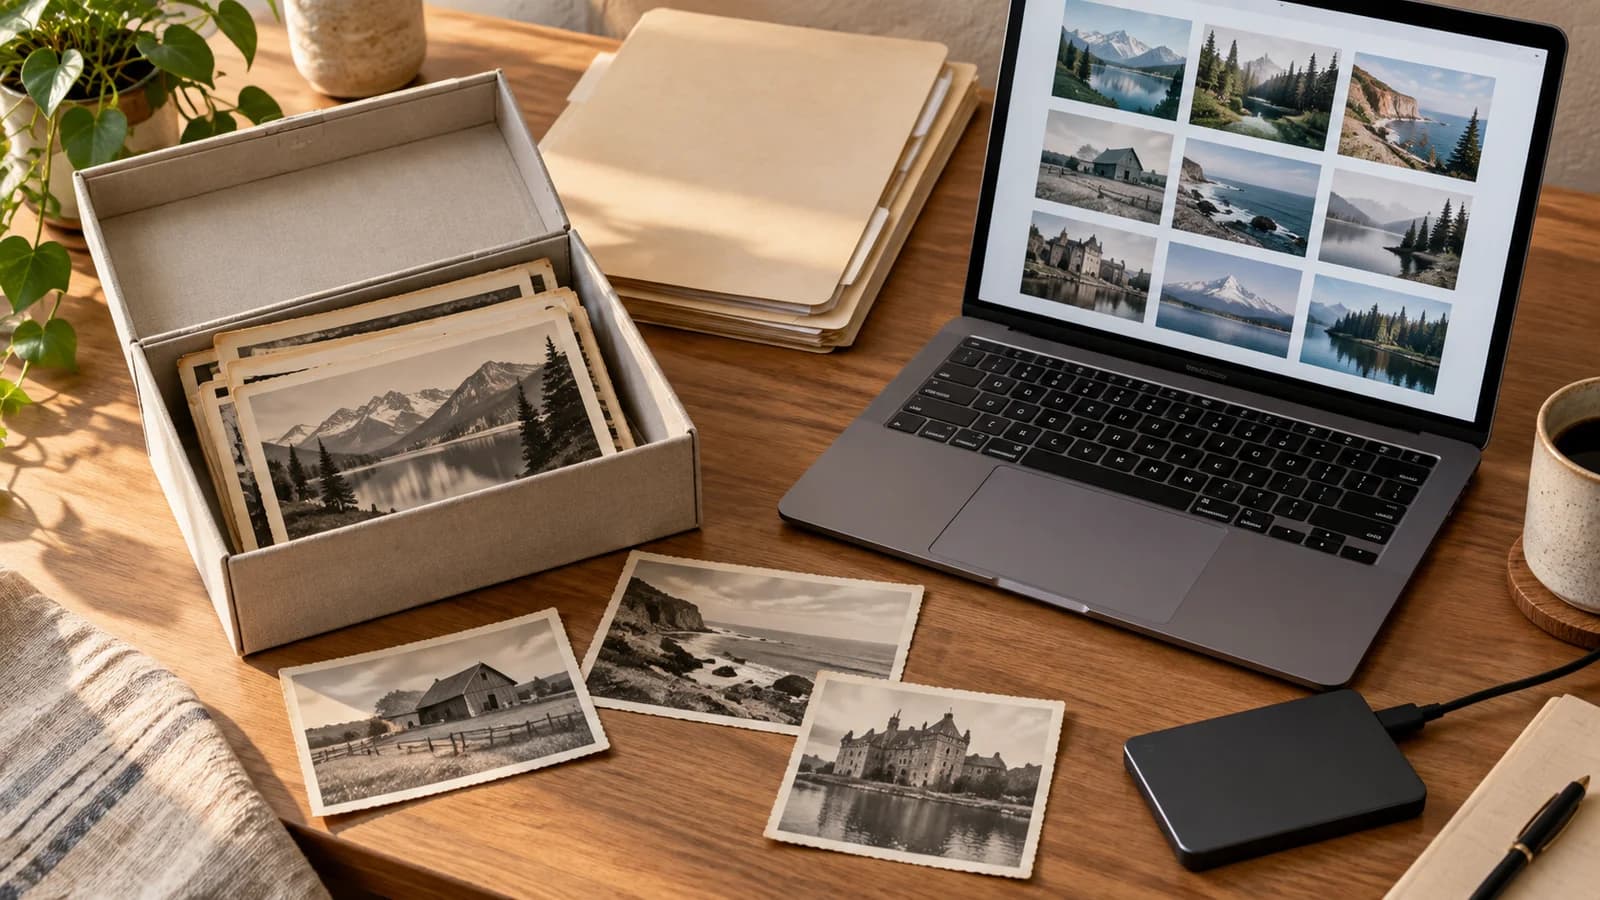
Cover illustration: an AI-generated concept of an organized workspace. The landscape prints are fictional, not family or customer photographs.
Give each original a stable address
Before renaming anything, note where the print came from: for example, box-a, album-02, or envelope-03. Keep the physical group together while you scan it, and use a sequence number within that group. This makes an uncertain photograph findable without pretending you know its year or subject.
An illustrative filename is box-a-001-front.jpg. If you scan writing on the back, use box-a-001-back.jpg; both sides share the same ID. The extension should reflect the file you actually saved. Do not convert a file merely to make every name look identical. The National Archives advises using letters, numbers, hyphens, and underscores in identifiers rather than spaces or punctuation. Its family-digitizing guidance also says to keep the physical originals because digital copies can be lost.
If you already have thousands of files called Scan001.jpg, you do not need to rename them all at once. Begin with one box. Check that the new names are unique before deleting or moving old copies. Keep a mapping from old name to new name in your inventory until you have verified the transfer and backups.
Use folders for file roles, not uncertain history
A small collection can use this structure:
family-photos/ collection-notes.txt inventory.csv masters/ box-a/ box-a-001-front.jpg box-a-001-back.jpg edits/ box-a/ box-a-001-restored.jpg
The masters folder contains the best faithful scan you chose to preserve. Leave it unchanged. The edits folder contains retouching, AI restoration, crops, or files resized for sharing. If you scan a print again at better quality, retain enough information to tell which capture is which before replacing anything. For a fuller discussion of capture files and derivatives, see our JPEG, PNG, and TIFF guide.
The choice of box-a is deliberate. A date folder is useful when the date is known, but many family prints have no reliable date. A plausible decade can go in the inventory as an estimate. It should not become an apparently certain timestamp in the filename. The Museum of Ventura County's family-photo guide recommends a basic inventory with identifiers, dates, descriptions, locations, people, and folder names where known; it notes that later family members may have no one left to ask.
Write down what the file name cannot hold
Use a spreadsheet or CSV with one row per physical item. Start with item_id, original_location, front_file, back_file, description, people, place, date_or_range, date_confidence, and source_of_information. Leave unknown cells blank or write unknown; do not fill them with an attractive guess. A relative's recollection, a note on the back, and a date printed by a photo lab are different kinds of evidence. Record which one you used.
Keep collection-notes.txt short. Explain what box-a means, how IDs were assigned, where physical items now live, and what masters and edits contain. The Library of Congress specifically recommends a brief description of the folder structure and a copy of the inventory. For advice on the capture step, see our scan-resolution guide; the inventory remains your record of what the picture depicts.
Treat the inventory as part of the collection. If it exists only inside one photo app, export a copy you can read independently. A plain CSV and text file are easy to inspect even if your preferred software changes. That is an editorial workflow suggestion, not a requirement from an archive.
Back up the whole system, then test it
The National Archives' 3-2-1 guidance means three copies, on two kinds of media, with one copy off-site. Copy the masters, edits, inventory, and notes together so a recovered image still has its context. Choose storage you can maintain and access; a cloud account or external drive is useful only if you can retrieve its files.
After each batch, open a few files from each backup, including an image and the inventory. Check that the latest changes arrived and that the names match. The Library of Congress checklist recommends checking photos at least annually and making new media copies about every five years or when needed. A calendar reminder makes that advice actionable. No number of copies removes every risk; a restore check tells you whether the copies are usable today.
You can begin with ten photographs. Label their source group, scan front and back where useful, assign IDs, fill in only known facts, and make and test the copies. If another family member can locate a particular print and its untouched scan from your notes, the system is doing its job.
When a scan needs restoration
First preserve the untouched scan and its inventory entry. If a digital copy needs cosmetic repair, you can try My Restored Photo with that copy and keep the result under edits with the same item ID. Label it as a restoration. AI can make missing detail look convincing without proving it matches the original; see what AI restoration can really recover before treating a repaired face or inscription as evidence.