
Restoration field guide
Flatbed Scanner, Phone, or Scanning Service: How to Choose
Choose a way to digitize family photos by condition, useful detail, collection size, and handling. Test a small batch before buying equipment or mailing originals.

By My Restored Photo editorial team
Published October 9, 2026 · Updated October 9, 2026 · 9 min read
On this page
Choose a flatbed scanner when you want control over the capture of loose, flat prints. Try a phone when you need a convenient copy or want to photograph an album without dismantling it. Consider a scanning service when the work exceeds the time you can give it, provided the service can handle your actual photographs safely.
Collection size alone does not decide the answer. Twenty fragile prints can need more care than a box of ordinary snapshots. Before buying equipment or sending originals away, test a few representative photos and inspect the exported files. The useful question is whether the method preserves the detail and context you need at a pace you can sustain.
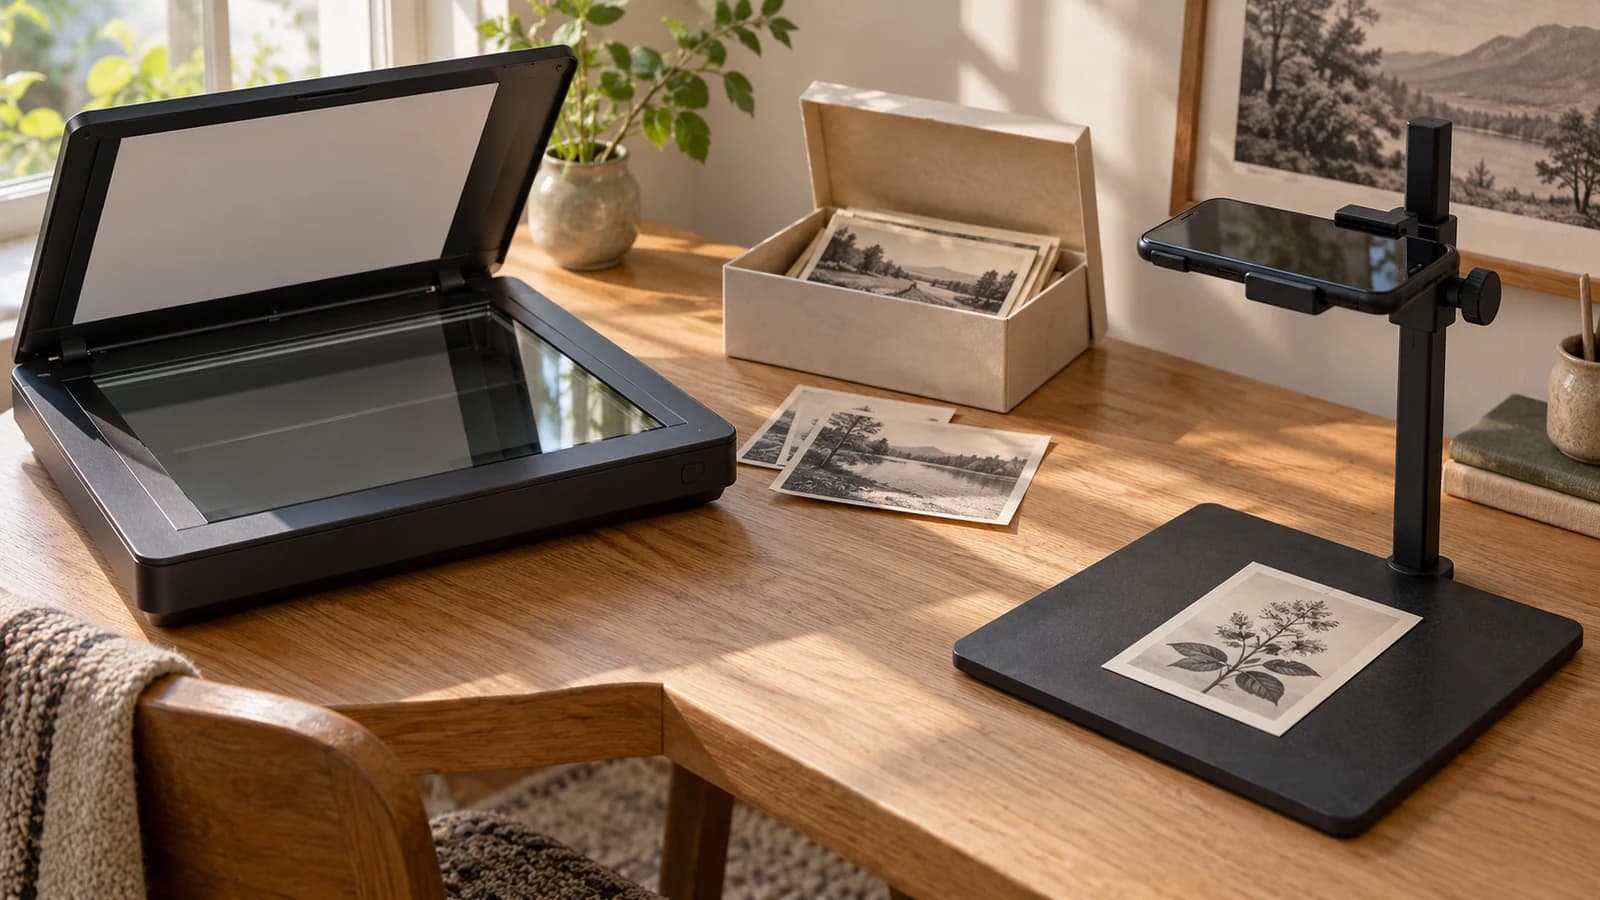
Cover illustration: an original AI-generated concept of three digitization options. The prints are fictional, not customer photos or demonstrations of scan quality.
Check condition before choosing equipment
Start by separating ordinary loose prints from albums, mounted photographs, oversized items, and anything fragile. The US National Archives warns that scanner lids can crease originals that do not fit, and that automatic feeders can tear fragile, bent, weak, or valuable material. It recommends supported camera capture for books rather than forcing them onto a flatbed.
An album that will not open comfortably is not a reason to press harder. The Library of Congress digitization guidelines advise against applying pressure to flatten bound material and against putting glass over photographs to flatten them. For a damaged or stuck print, use our scan-or-conservator decision guide before attempting capture.
This comparison covers photographic prints. Set negatives and slides aside for a workflow that supports transparent film. A service's ordinary print package is not proof that it can digitize those formats.
Compare the three routes
These are starting points for a family collection, not equipment rankings or guarantees of image quality.
| Route | A reason to try it | What to check first |
|---|---|---|
| Flatbed | Loose, flat prints; choose capture settings | Bed size, apps, crop, and care |
| Phone | A quick copy; album context without removal | Focus, glare, angle, borders, and export |
| Service | Help to finish a box of prints | Print types, scan method, order, edits, files, and return |
You can use more than one route. Photograph album pages for context, scan suitable loose prints for more deliberate capture, and request a service sample for the remaining box. Record which process produced each file so later comparisons make sense.
When a flatbed scanner makes sense
A flatbed is worth testing when you will scan repeatedly and want to choose settings for individual prints. Check that the whole object fits safely, including its border or mount. Check the manufacturer's supported operating systems and software before buying a used scanner; a working scanner is only useful if you can operate it on your computer.
Avoid choosing by the largest resolution number alone. The Canadian Heritage Information Network distinguishes optical capture from interpolated resolution, which estimates information between captured pixels. Our scan-resolution guide explains how to relate print dimensions to the pixels you need.
Also check the software's actual workflow. For example, Epson's Perfection V19 II/V39 II manual documents scanning several separated photos in one pass and cropping them individually. A flatbed does not necessarily mean one scan per print. That manual also describes automatic brightness, contrast, and saturation adjustments, faded-color correction, and red-eye removal. Decide which adjustments you want before scanning a whole collection.
Keep a faithful capture separate from a version prepared for display or restoration. CHIN's guidance distinguishes preservation masters from edited and access files. At home, you can adopt that separation without claiming museum-standard capture: save the least-altered version you can make, then edit copies. Our JPEG, PNG, and TIFF guide explains the file-format trade-offs.
When phone capture is enough
A phone is a sensible first experiment if you want to share a few prints, document an album's arrangement, or assess the collection before committing money. Keep the camera parallel to the print, support it steadily, and inspect focus across the image. Read our phone glare guide for the capture setup rather than relying on a filter to hide reflections.
Photo-scanning apps can help, but inspect what they save. Google's PhotoScan documentation describes edge detection, perspective correction, rotation, and combining multiple images to remove glare. Those are processing steps. Keep a separate full-frame capture when borders, page layout, or original geometry matter, and compare the app's export with that reference.
Do not judge the result only by how attractive it looks on a small screen. Open the exported file on a larger display if possible. Check small details, all four corners, and any writing. If the version you can export does not meet your intended use, improve the setup or try another method before repeating it across the collection.
A supported camera setup may also suit an album better than contact scanning. That does not make every phone photograph an archival master. The capture conditions and the resulting file still need review.
When a scanning service is worth considering
Ask a service to confirm what it can accept before paying or packing. An ordinary bulk package may exclude exactly the items you most want copied. As one US example, ScanMyPhotos' prepaid-box instructions accept prints from 3 × 3 to 8 × 10 inches and exclude negatives, slides, laminated images, and certain thick or mounted photographs. They also make preservation of scanning order a separate service choice. Those are that package's rules, not rules for every scanning company.
Do not dismantle a fragile album just to qualify for a bulk package. Seek a provider willing to discuss the object, or get conservation advice first.
Request a written answer to the questions that affect your collection:
- Will these specific prints be scanned on a flatbed, fed through equipment, or photographed?
- Can the service preserve grouping and order, and capture notes on the backs?
- Which file format and pixel dimensions will be delivered? Can you see a sample file?
- Are crops, color correction, sharpening, or restoration automatic? Can you receive a less-altered capture too?
- Where will the originals be handled, how will they be returned, and what happens if something is unsuitable?
- What does the complete quote include, and what costs extra?
Compare the full quote, including the options you need and shipping where applicable. A per-photo headline is not enough to compare two different deliverables. For readers outside the US, apply the same questions to local providers and check their collection or shipping arrangements. There is no universal price, turnaround, or photo-count threshold that settles the decision.
Run a small pilot before committing
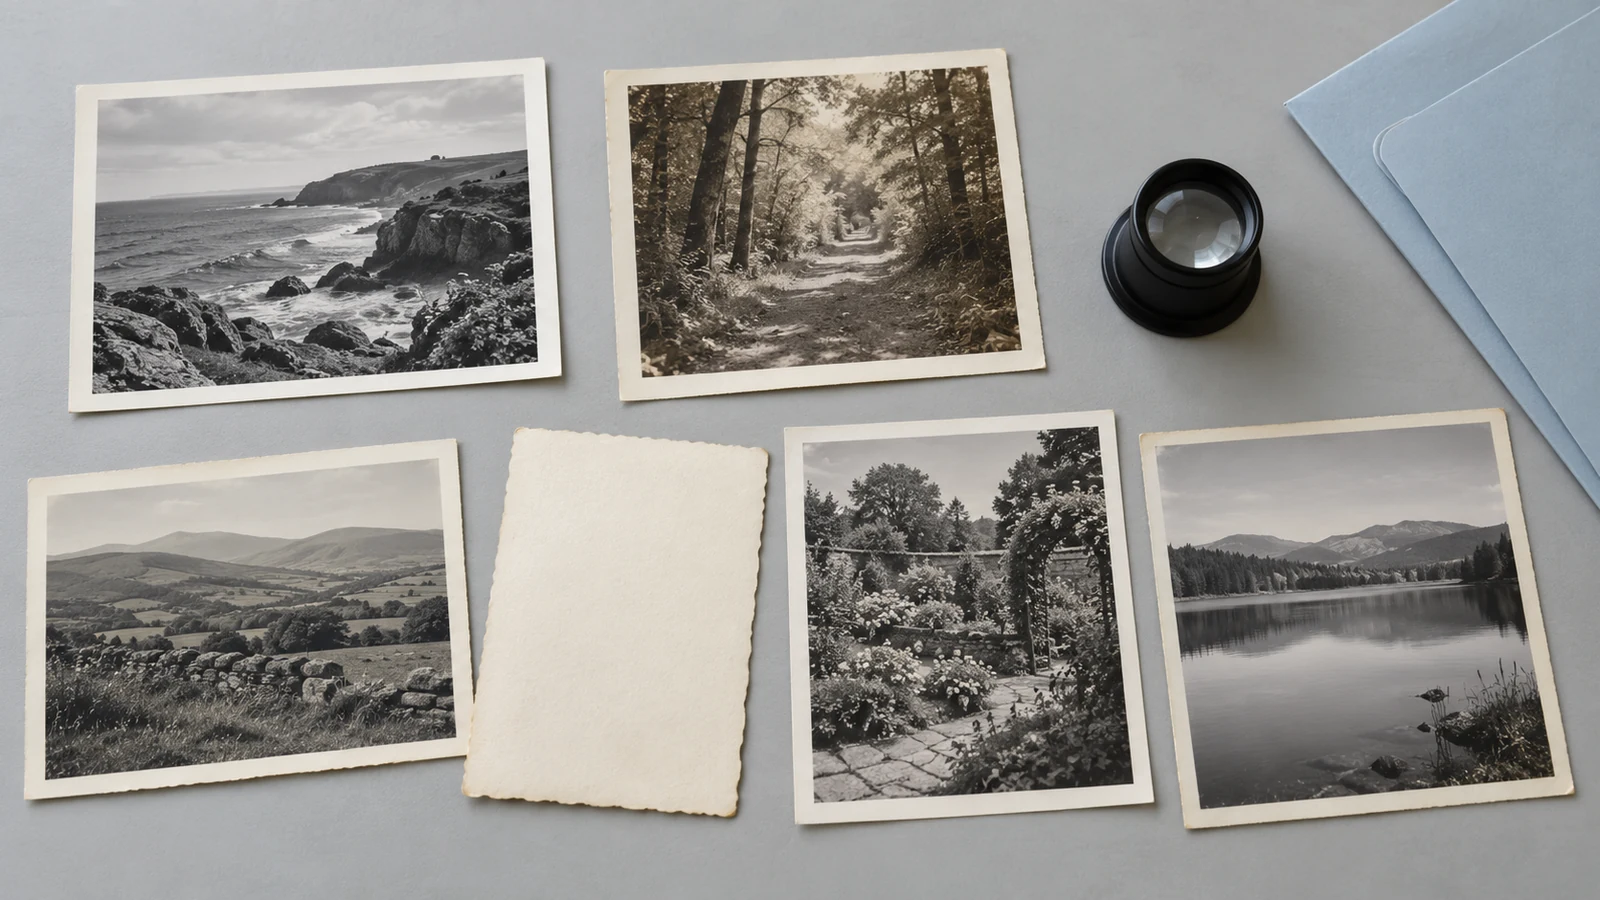
Choose a few ordinary, safely handled prints that represent the work: a glossy snapshot, one with fine detail, a faded image, and a print with notes on the back if available. Five to ten items is a practical editorial starting point, not an archival standard. For a service, ask whether a sample order is possible before sending the entire collection.
Capture or scan each item, export the actual deliverable, and review it before proceeding. CHIN's quality-review guidance includes file properties, distortion, cropping errors, naming, and completeness. A useful home check is:
- Confirm that the whole intended image is present, with important borders and notes retained.
- Check for glare, blur, crooked geometry, missing corners, and unwanted automatic edits.
- Compare the same small detail at a similar displayed size across files. Record pixel dimensions too, but do not equate a larger file with more captured detail.
- Confirm that the exported file opens outside the scanning app and that you can find it again.
- Match each file to its original and check that both sides were captured when needed.
Time the whole pilot, including sorting, handling, saving, naming, and checking. Then estimate the remaining work from your own pace. If 20 completed photos take one hour, 400 similar photos imply about 20 working hours before allowing for setup and exceptions. That is arithmetic for this scenario, not a scanner speed claim. Compare the effort with a service quote and decide what you can realistically finish.
If the pilot exposes a recurring problem, solve it now. Retaking five files is easier than discovering the same crop or glare problem in five hundred.
Keep capture and restoration separate
Once the files pass your checks, keep the physical originals and back up the digital copies. NARA recommends retaining originals because digital files have preservation risks of their own. Our family-photo organization guide gives you a way to keep captures and edited versions connected.
Restoration is a later decision. A more convincing image does not establish that missing detail was recovered accurately. CodeFormer's face-restoration research describes a trade-off between visual quality and fidelity. Treat reconstructed faces or textures as uncertain, and keep the original capture for comparison.
If you want to explore restoration after digitizing, make a separate JPG or PNG working copy and choose it on the My Restored Photo homepage. Review the result against your untouched capture before sharing or printing it. Start with one photo whose source you can assess; a restoration result should never be the only surviving digital version.
Sources
- US National Archives: Digitizing Family Papers and Photographs
- Library of Congress: Preservation Guidelines for Digitizing Library Materials
- Canadian Heritage Information Network: How to Scan Reflective Objects Using a Flatbed Scanner
- Epson: Perfection V19 II/V39 II User's Guide
- Google: PhotoScan
- ScanMyPhotos: Prepaid Photo Scanning Box Instructions
- NeurIPS: Towards Robust Blind Face Restoration with Codebook Lookup Transformer