
Restoration field guide
How to Print a Restored Photo: Size, Resolution, Paper, and Crop
Choose a print size, check pixels after cropping, compare paper finishes, and proof a restored photo without mistaking PPI for recovered detail.

By My Restored Photo editorial team
Published September 15, 2026 · Updated September 15, 2026 · 8 min read
On this page
- Start with the pixels that survived the crop
- PPI and printer DPI are different measurements
- Decide how much of the photograph you can crop
- Treat 300 PPI as a checkpoint, not a repair tool
- Choose paper for the room and the photograph
- Prepare the file for the printer you chose
- Restore first, print second
- Sources
Choose the print size before you export the file. Then check the pixel dimensions after the final crop. For a small print that people will hold and inspect closely, 300 pixels per inch is a sensible planning target. It is not a promise of quality and it is not a rule for every printer.
A 4 by 6 inch print needs 1200 by 1800 pixels at 300 PPI. An 8 by 10 needs 2400 by 3000. If the restored file falls short, a smaller print, a border, or a proof at the lab is more honest than adding pixels and assuming the new detail is real.
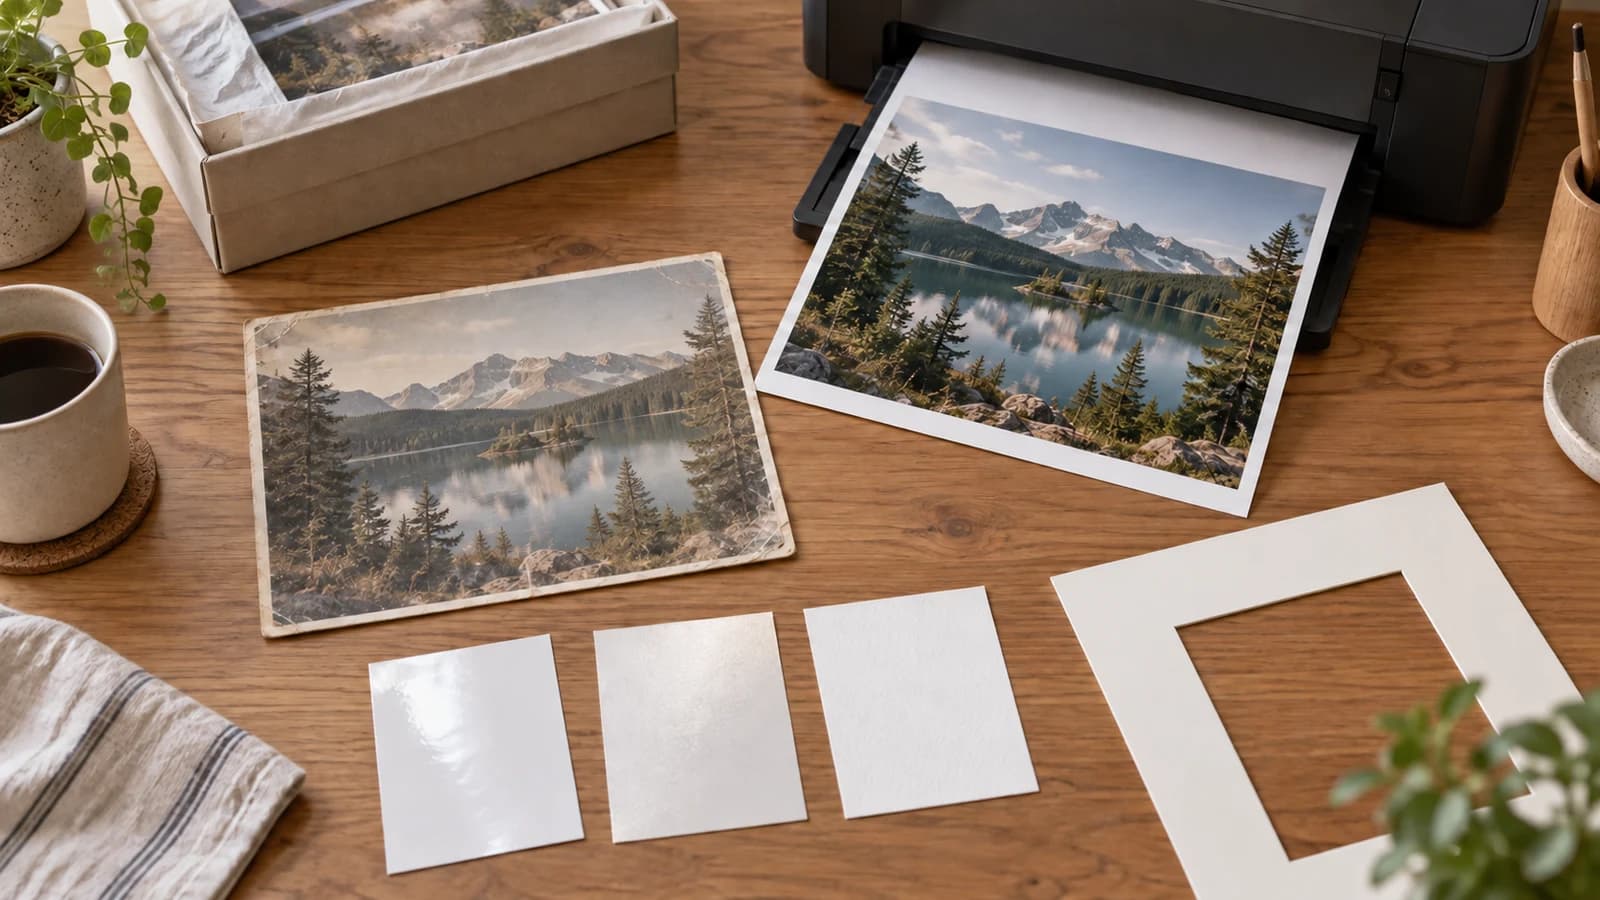
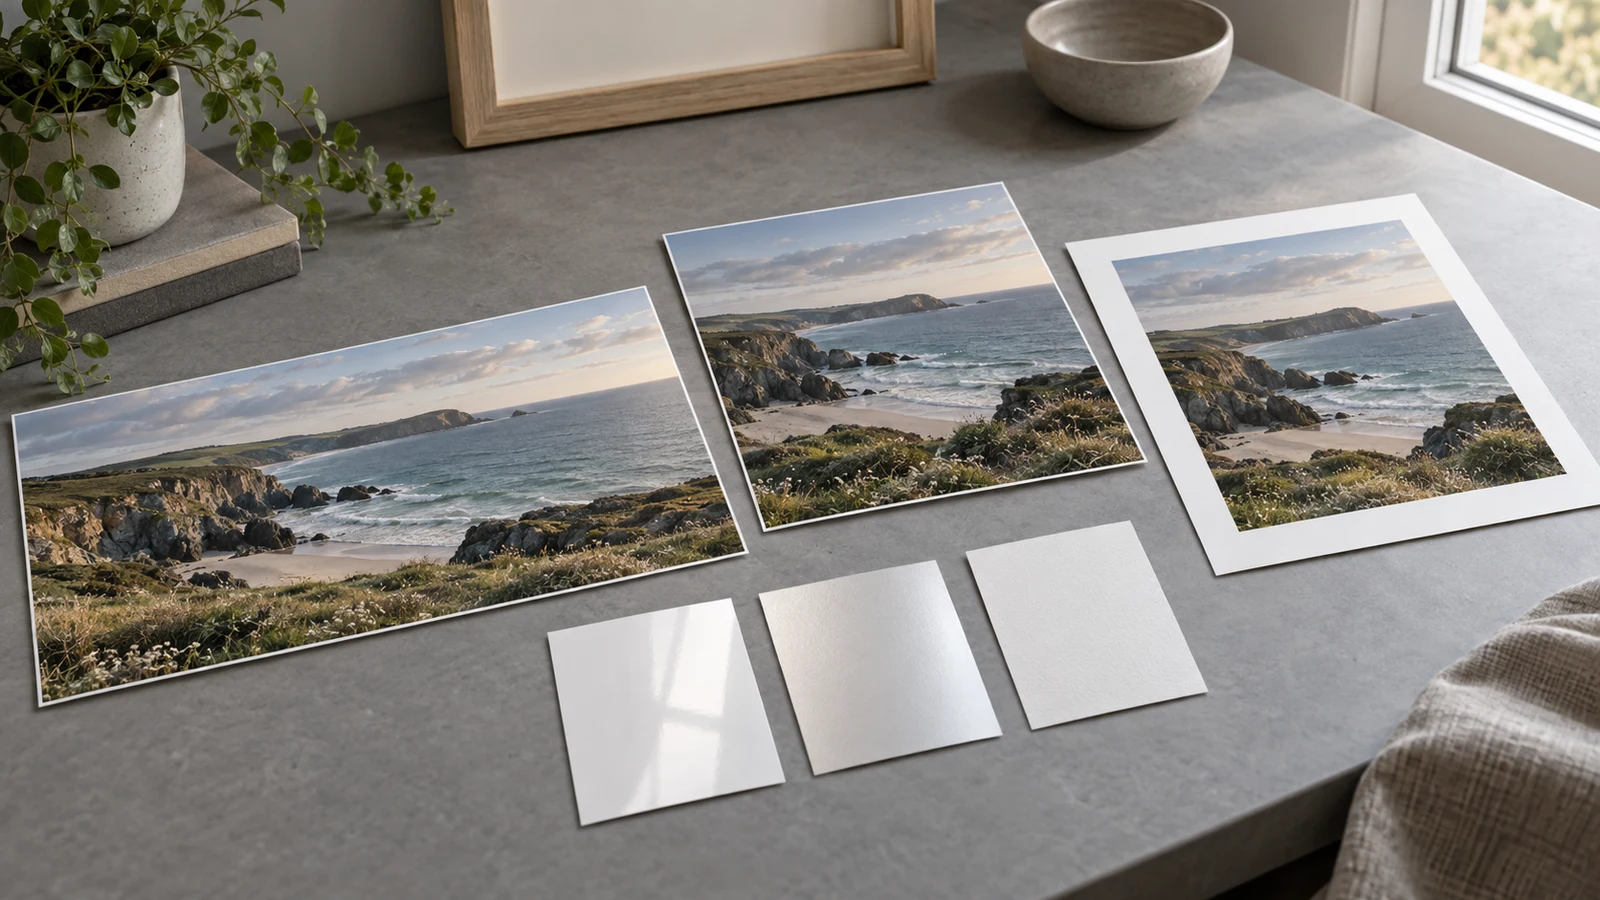
Cover illustration: an AI-generated conceptual printing workspace. The photographs are fictional landscapes, not customer images or evidence of a restoration result.
Start with the pixels that survived the crop
Print resolution is the number of image pixels assigned to each inch of paper. The useful calculation is:
pixels on one side ÷ printed inches on that side = PPI
Run it for both sides after cropping. The lower result is the limiting one. Changing a file's resolution label to 300 PPI does not create more recorded detail. Adobe's explanation of printed image resolution notes that the pixel count stays fixed unless the image is resampled.
These targets use 300 PPI and cover common US print sizes. For sizes in centimetres, divide each measurement by 2.54 to convert it to inches, then use the same formula.
| Print size | Shape | Pixel target at 300 PPI |
|---|---|---|
| 4 × 6 inches | 2:3 | 1200 × 1800 |
| 5 × 7 inches | 5:7 | 1500 × 2100 |
| 8 × 10 inches | 4:5 | 2400 × 3000 |
| 11 × 14 inches | 11:14 | 3300 × 4200 |
| A4, 210 × 297 mm | 210:297 | about 2480 × 3508 |
Adobe describes 300 PPI as a common high-quality target, especially for prints viewed close up. Lower input resolution can still be useful when the print will be seen from farther away. Printer requirements also differ. For example, Epson says many of its printers typically need 240 to 300 PPI input. Check the lab or printer manual before resampling a file to meet an assumed number.
PPI and printer DPI are different measurements
PPI describes the image file at its intended print size. Printer DPI describes how the printer places ink or toner. A printer advertised at thousands of DPI does not require an image with thousands of pixels per inch. Epson's driver guide, for example, lists high printer DPI settings while separately recommending a much smaller 240 to 300 PPI input range.
That distinction saves a lot of pointless resizing. Judge the file by its pixel dimensions, intended print size, and the printer's stated input guidance.
Decide how much of the photograph you can crop
A 4 by 6 and an 8 by 10 are different shapes. The 4 by 6 has a 2:3 aspect ratio, while the 8 by 10 has a 4:5 ratio. Filling the second sheet with the first shape means cutting away part of the long edges. Stretching the image to avoid that crop changes faces, bodies, circles, and familiar objects.
Choose one of three honest options:
- Crop the image yourself, with important faces, hands, clothing, handwriting, and edge details inside the final frame.
- Keep the whole image and accept white borders on two sides.
- Choose a print size whose aspect ratio is closer to the restored file.
Do not trust a thumbnail alone. Open the lab's crop preview for every size. Mpix says its system uses a centre crop when the file and print have different aspect ratios, and it also describes slight oversizing to account for paper movement. That is one lab's process, not a universal allowance. It shows why a technically matching ratio can still lose a narrow strip at the edge.
Keep important details clear of the final trim. A border is often the cleaner choice when the original composition already runs to the edge.
Treat 300 PPI as a checkpoint, not a repair tool
Resampling software can add pixels. AI upscaling can also generate sharper-looking edges and texture. Neither process proves that the source photograph contained those details.
Before printing, compare the restored file with the untouched scan at the same scene scale. Look closely at eyes, teeth, hairlines, jewellery, hands, signs, patterned clothing, and objects near repaired damage. The guide to what AI photo restoration can really recover explains why a plausible result can still be historically wrong.
If an enlarged file has waxy skin, repeated texture, doubled edges, halos, or invented letters, printing it larger usually makes the problem easier to see. Try a restrained restoration, print smaller, or leave uncertain damage visible. A real crease is better evidence than a confident invention.
Keep three separate files:
- the untouched scan or camera capture;
- the restored working master; and
- a cropped print copy made for one size and one lab.
That separation lets you change the crop later without reopening or overwriting the historical source. If you are still choosing a master format, see the guide to JPEG, PNG, and TIFF for old photographs.
Choose paper for the room and the photograph
There is no best paper finish for every restored photo. Surface names and materials vary by lab, so use sample packs or a small proof when the print matters.
- Glossy paper has strong reflection and contrast. It can suit a small print viewed directly, but window glare may distract from dark areas.
- Lustre or semi-gloss paper sits between glossy and matte. It is a practical first proof when you want some surface depth without a mirror-like sheen.
- Matte paper reduces surface reflection. It may suit a print displayed behind glazing or under strong room light, although the specific paper and printer still affect blacks, colour, and texture.
These are surface choices, not permanence ratings. A current Mpix paper comparison shows how much reflectivity can vary between one lab's high-gloss, semi-gloss, and deep-matte products. Use the lab's own samples rather than assuming two products with the same generic label will look alike.
Nor does a word such as "archival" settle how long a print will last. The Image Permanence Institute's preservation guide identifies heat, moisture, air pollutants, and display light as causes of change in digitally printed material, with different print types having different sensitivities. Ask the printer about its process and tested materials, then keep the finished print away from direct sun, damp areas, and heat.
Prepare the file for the printer you chose
Read the lab's file-preparation page before exporting. Requirements for colour space, file type, sharpening, embedded profiles, automatic correction, and maximum file size are service-specific.
Mpix, for example, requires sRGB files for its photographic printers. It also recommends leaving resampling to its printing system for its own workflow. Another lab may ask for something else. Follow the destination printer, not a setting copied from a generic tutorial.
For a restored family photograph:
- Finish the restoration and inspect identity-bearing details.
- Duplicate the restored master.
- Crop the duplicate to the exact print ratio.
- Check its remaining pixels against the intended inches.
- Export in a format and colour space the lab accepts.
- Review every crop warning and correction option in the order screen.
- Order one small proof before a large print or a set of copies.
View the proof in the room where it will live. Check faces from normal holding distance, then inspect fine edges and repaired areas up close. Compare the proof with the screen for blocked shadows, clipped highlights, unexpected colour, edge loss, and excessive sharpening. If it is wrong, fix the print copy. Keep the master untouched.
Restore first, print second
Locking in a crop before restoration can remove context that helps you judge the result. Restore the full useful frame first, compare it with the source, then make a print-specific copy.
If you already have a safe digital capture, you can restore one copy with My Restored Photo and compare the result with the untouched scan. Keep in mind that a sharper or larger output can contain plausible generated detail. Final print size should follow the trustworthy pixels and the proof, not the largest size an order form allows.